11 Tips for Painting with Light Photography

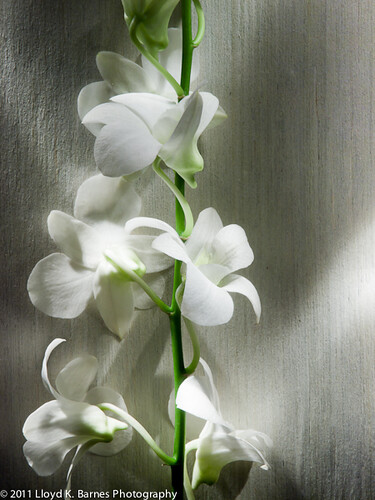
White Orchid - Painting with Light - 25 sec at f/22
Painting with light is a great technique to create interesting lighting effects using ordinary flashlights. It's very simple to do and once you get into it, the possibilities are endless.
All you need is a flashlight, tripod and a camera that you can set to manual exposure. Also, the room must be completely dark. I like to use a MagLight because you can focus the beam, but any flashlight will do. LED flashlights work great too.
- White balance - conventional flashlights use tungsten or halogen bulbs, so you should set your camera's white balance to tungsten to get a natural looking light. LED flashlights are often closer to daylight, so you should set your camera to daylight white balance.
- Exposure - you can use any aperture, although I prefer to use a smaller aperture (higher f-stop) to give me more time to do the light painting. A wide aperture will be harder to work with because it's easy to overexpose the image. I set my camera to manual and use the "Bulb" shutter speed and a cable release. You can also use a long shutter speed such as 30 to 60 seconds. If you set the self timer you can trigger the shutter without touching the camera.
- Rapidly moving the flashlight will create a soft light with fewer shadows. If you hold the flashlight still, you will get sharp dramatic shadows.
- Avoid going over the same spot more than once or you risk overexposing that part of the image.
- Make sure you cover all the subject with light. Any areas that you don't buy ambien online paypal paint with the flashlight will be very dark or completely unexposed.
- With a digital camera you can look at the image on the camera's LCD screen after the shot to see how it turned out. This makes the technique a lot easier than it would be with a film camera!
- Focus the camera first and set it to manual focus. This way the camera's autofocus won't kick in when you open the shutter.
- Avoid moving the camera during the exposure or you will get some blurred images. Even though the camera is on a tripod, because you are working in the dark it's easy to bump into the tripod and nudge the camera out of position. If that happens, your image will probably not turn out - although sometimes you may get some interesting double exposure effects!
- Turn off the camera's noise reduction feature because it takes a long time for the camera to process the image after each shot when you have long exposure times. I use Lightroom's noise reduction on the the RAW image in post-production.
- Avoid pointing the flashlight directly at the camera's lens. Shade the flashlight with your hand or a small rolled up piece of black bristol board. If the flashlight points toward the camera you will get trails of light - sometimes this might look pretty interesting but usually you probably will not want it.
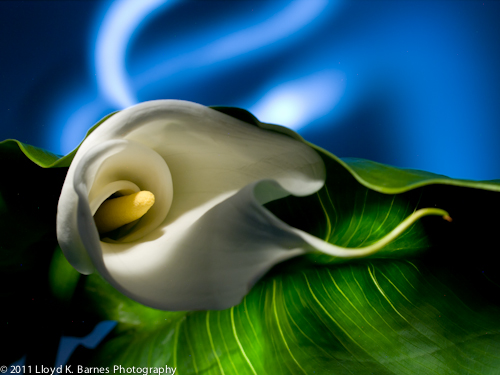
- Use coloured gels over the flashlight to add creative colour effects.
Painting with light is a lot of fun and it's amazing to see the lighting effects that you can get with such a simple set up!
Have you tried painting with light? If you have, post a link to the photo in the comments section below.


