How to Create a Cool Animated Mist Effect in Photoshop CS5
I love these animated gifs and wanted to try something like that myself. I did a photoshoot a couple of months ago and used a fog machine to create a misty background. It would be cool to show the mist swirling around in a short animated gif. The original photo had some mist, but I wanted to add some more in Photoshop and then animate it.
Original:
Animated:
Photoshop CS5
Level of difficulty: Intermediate. You should be familiar with working with layers, resizing images and using the warp tool.
Create the mist layers:
(Click on the screen shots to zoom)
- Create a blank layer above the edited/retouched photo
- Paint some mist on the blank layer & name the layer Mist 1. I used these mist brushes by SpiritSighs.
- Copy the layer, name it Mist 2 and warp it using Edit => Transform => Warp. You can warp the mist to make it look like it has drifted around.
- Copy the warped layer and repeat with another warp (Mist 3).
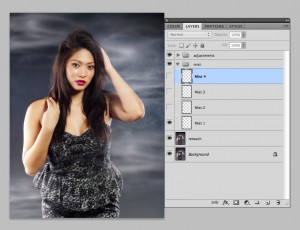
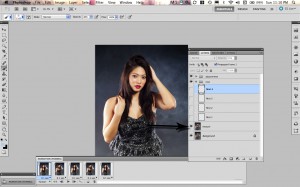
- Copy the above layer and warp it again (Mist 4). You will now have the original image plus four mist layers above it. Click on Fig. 1 to expand.
Create the Animation Frames:
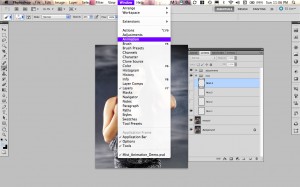
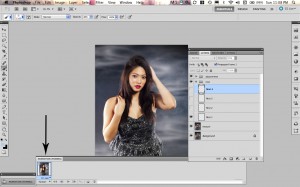
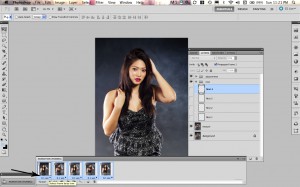
- Select the 5 layers and open the animation window (Window => animation - Fig. 2). Make sure you are in frame view (Fig. 3).
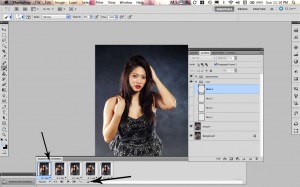
- Click on the frame and duplicate it by dragging it to the new frame icon. Repeat this four times to give a total of 5 frames (Fig. 4 & 5).
- Click on the first frame. Go to the layers panel and make only the base layer (retouch) visible (Fig. 6).
- Click on the second frame and make the retouch layer on the Mist 1 layer visible using the layers panel
- Click on the third frame and make the base layer & the Mist 2 layer visible.
- Click on the fourth frame and make the base layer & the Mist 3 layer visible
- Click on the fifth frame & make the base layer & the Mist 4 layer visible
- Select all 5 frames by clicking on the first and Shift-Clicking on the last one.
- Change the frame delay time to 0.1 (Fig. 7) You can try different timings depending on what works best for your project.
Tween the animation to make it run more smoothly
- Click on the first frame and Shift-click on the second frame
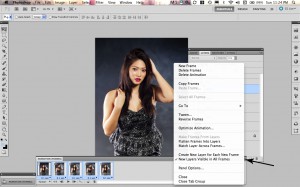
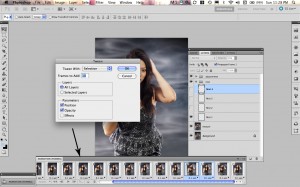
- Go to the animation menu and choose Tween... (Fig. 8)
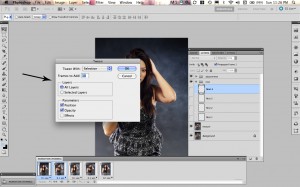
- Enter 10 in the "frames to add box" and select all layers, and position & opacity (Fig. 9)
- Select frames 12 & 13 and repeat the Tween for these two frames. Repeat this for frames 23 & 24 and 34 & 35 (See Fig. 10)
- Duplicate the last frame (45) and move it to the front
- Tween the first and second frames as before. This makes the animation smoothly cycle back to the beginning.
- Make sure the repeat mode is "Forever"
- Save everything!
Check it out - when you press the play button you will have a pretty smooth animation!
Save the animated gif
- Resize the image to the size that you want (I used a height of 375 pixels because it gave me a file size under 2 MB). Go to Image => Image Size and select the size that you want, making sure to lock the aspect ratio.
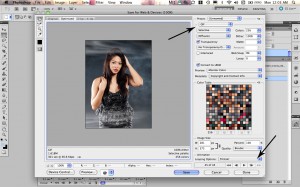
- Go to File => Save for Web & Devices.
- Set to "forever"
- Select Gif and Save (Fig. 11)
To view the animated gif, open it with your browser.
I'm looking forward to doing some more of these animations and have lots of ideas for future shoots! If you have tried it, please share by posting a link in the comments section.



Thanks!!!
You’re welcome!