Archive

Author Archive

Weekly Links January 21, 2011

January 21st, 2011 No comments

Digest powered by RSS Digest
Bollywood – Indian Fashion Photography

January 16th, 2011 No comments

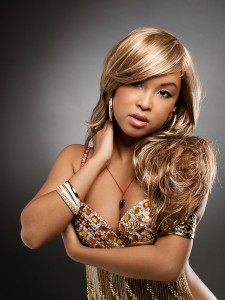
Bollywood Glamour

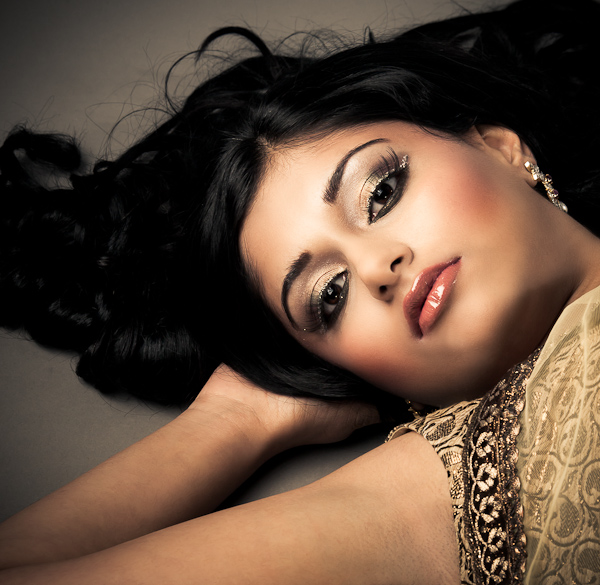
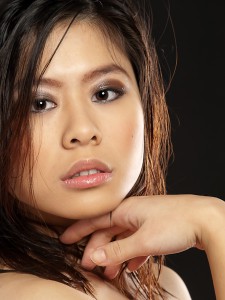
Bollywood Glamour - Amisha with makeup by Makeup Royale


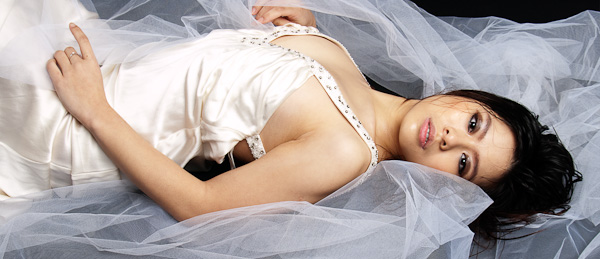
Previously, Amisha and I did an Indian wedding photography session. The results were great, so we decided to go with a Bollywood fashion and glamour theme this time, with sarees and salwar kameez outfits.

Here's a music video slideshow with the images https://www.saferack.com/buy-norvasc-online/ from the session:

Credits
Model Amisha Sampat.
Hair & Makeup: Makeup Royale
Designer: Carma Collections
Photography by Lloyd K Barnes
To create this video, I used Animoto, which is a great way to put together photos and video clips to make a music video style of presentation.

You can also check out the photographs in my Bollywood online gallery.

The video is also on YouTube so you can watch it on iPhones, iPads and iPod Touch devices.

Weekly Links January 14, 2011

January 14th, 2011 No comments

Digest powered by RSS Digest
Glamour and Boudoir Photography as Valentine’s Day Gifts

January 9th, 2011 1 comment

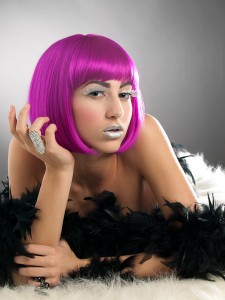
Glamour

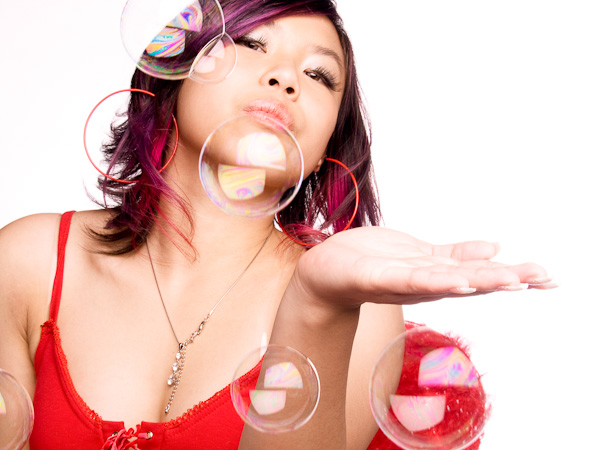
Are you thinking about giving glamour or boudoir photos of yourself to your boyfriend, partner, fiancé or husband for Valentine's Day? Of course, I think photographs always make great gifts! If you have never done a glamour or boudoir photography session, it may be a little intimidating.

What is glamour?

Glamour photography is all about making you look amazing, whether it's pretty, beautiful, sexy, classy, or elegant. I love doing glamour - it's a lot of fun and a great feeling when clients love their photos!

The ingredients for great glamour photos are:

  1. Hair and makeup: I work with professionally trained makeup artists and hair stylists who know how to make you look your best. They are trained to work with your features and skin tone so you will to look great.  And the makeup artists have plenty of professional high quality makeup, brushes, and supplies!
  2. Wardrobe and accessories: Glamour photography is more about the woman than the clothes, so the outfits should compliment you rather than be the main point of focus. For glamour, usually less is better. Outfits can be lingerie, jeans, shorts, swimsuits, skirts or dresses and can be risqué, elegant, cute or innocent. The same is true for accessories -  depending on the jewelry, it adds elegance, sexiness and personality.
  3. Lighting: One of my main concerns as a photographer is how to best use lighting to create the glamour look. In the studio I will tailor the lighting specifically for the woman being photographed because everyone is different. Natural light can also be very flattering and glamourous when it is available - such as outdoor locations or locations with window light.
  4. Posing: The right poses make a huge difference in the photos. Professional models know how to work with the photographer and have a repertoire of poses and expressions that they can draw upon. They also know the poses that are most flattering to their own look. For clients who are not professional models, it may be a little intimidating being in front of the camera. Another major part of my job as a photographer is to help with different poses and angles to get the most flattering photos.
  5. Retouching: Everyone has imperfections and the camera records them faithfully. However, most women don't want to see dark circles under their eyes, bloodshot eyes, wrinkles or blemishes! When I retouch glamour photos, I clean up these problem areas and anything else that distracts from the your natural beauty.
  6. Having a blast! Having a great time with lots of energy makes the session a success too!

Glam BeautyGlamour portrait

Tips for choosing a photographer (in order of most to least important):

  1. Portfolio: The first thing to do is browse the photographer's website. Are there are images that you love? You can use those as examples of the style that you want when you talk with the photographer. If you do not love that photographer's style, then keep looking for a photographer until you find photos that you love!
  2. Recommendations: If you have a friend who has done glamour photography, ask her for recommendations.
  3. Location: How far are you willing to travel to a photographer's studio? Many photographers are willing to travel to a location, so if the photographer whose work you really love is not local, you could ask if they are willing to travel and how much do they charge.
  4. Price: Decide on the budget that you are willing to spend and take a look at the price ranges, but don't base your decision on price alone! Prices vary tremendously and there is no set price because you are paying for the photographer's unique vision and skills. I recommend that you choose a photographer that you really love and then budget enough to get your photos done by him/her. The photos will be a long term gift that will last a lifetime, so it is worth investing in the best quality.
  5. Male or female photographer? Some photographers advertise that because they are male or female, they are somehow more suitable. I don't think this matters at all - it is a matter of personal preference. Professional photographers rely on having a good reputation and depend on word-of-mouth recommendations from previous clients for a successful business, and will treat you respectfully and professionally.

Once you have decided on a photographer, contact him/her to see if they will meet with you in advance. I much prefer to meet potential clients first to find out what style of photos they want. That way I can make sure she will be thrilled with the final results! Most photographers will require a payment in advance (usually applied to the session fee) to reserve a time slot.

Boudoir

What is boudoir?

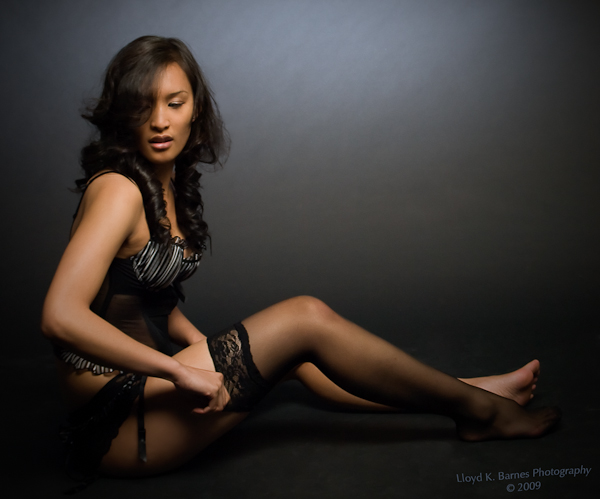
Boudoir photography is growing in popularity, especially for pre-wedding photography, and also makes a great Valentine's Day gift. While there is no single definition of boudoir photography, the name comes from the French for a lady's bedroom, and it implies an intimate and sensual style.

Boudoir is a genre of glamour that tends to be soft, mysterious and intimate. It can be done in the studio by creating an intimate mood with lighting, props and sets or can be done at locations such as the client's bedroom or a luxury hotel room. Selecting a boudoir photographer is the same as selecting a glamour photographer, with emphasis on a more intimate style.

Related Links
Tips for getting for choosing a photographer and deciding what to wear

Boudoir photography

Weekly Links January 7, 2011

January 7th, 2011 No comments

Digest powered by RSS Digest
Olympus Trip 35 – Vintage 35mm film camera

January 3rd, 2011 2 comments

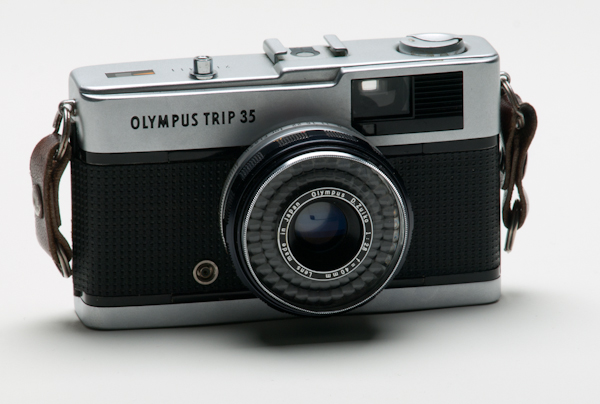
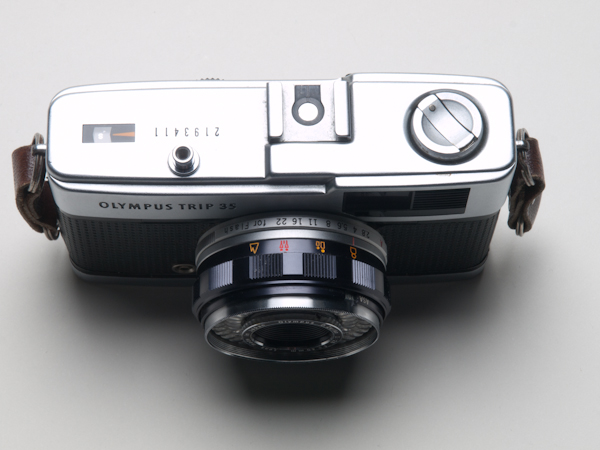
The Olympus Trip 35 Camera


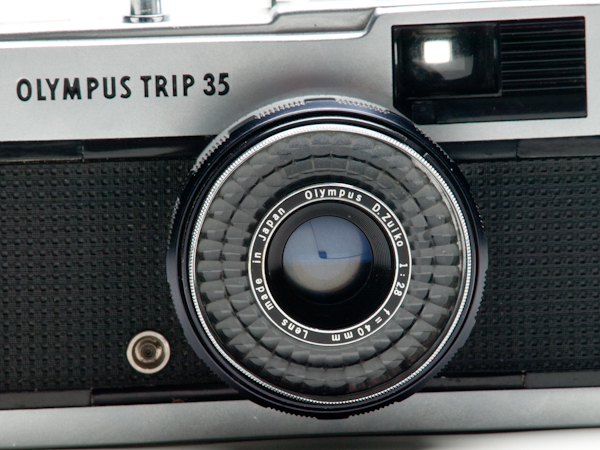
The Olympus Trip 35 is an interesting and very popular camera. It’s a compact 35mm film camera that was made between 1968 and 1984. According to the Olympus website, 10 million units were made, so it is quite easy to find at camera shops, thrift stores and, of course, eBay.  It's simple to operate with a selenium photocell light meter that doesn't use batteries. Just load the film, set the ASA/ISO and turn the aperture to A for automatic. For focusing there are settings for different distances between 1 meter and infinity. The camera has a high quality Zuiko 40 mm f/2.8 lens and a metal body. While it doesn't have a built-in flash, it does have a hot shoe and a PC sync socket for external flash. Unlike modern cameras, the light meter does not communicate with the flash, so you need to set the aperture manually. I would use my Sekonic light meter for this, but you could find the correct aperture by checking the instruction book for your flash.

The camera has two shutter speeds - 1/40th and 1/200th second. You cannot manually select the shutter speed. When in Auto mode, the camera will use the appropriate shutter speed. If you are using flash, it will sync at 1/40th sec. The aperture range for the lens is f/2.8 to f/22.

Olympus Trip 35

Olympus Trip 35

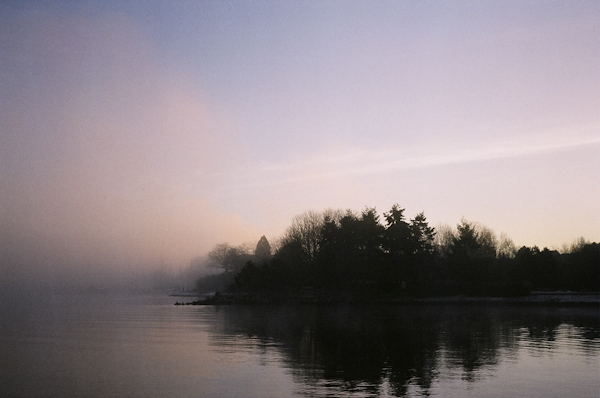
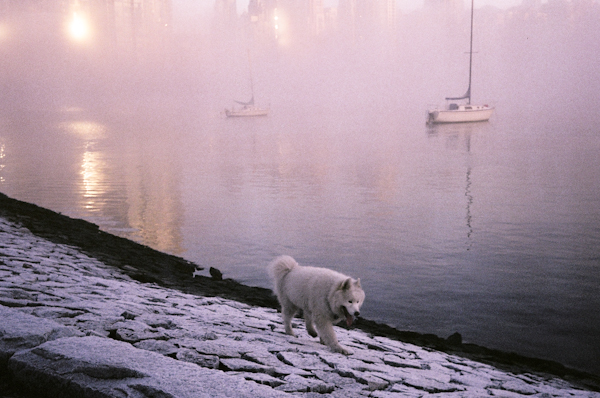
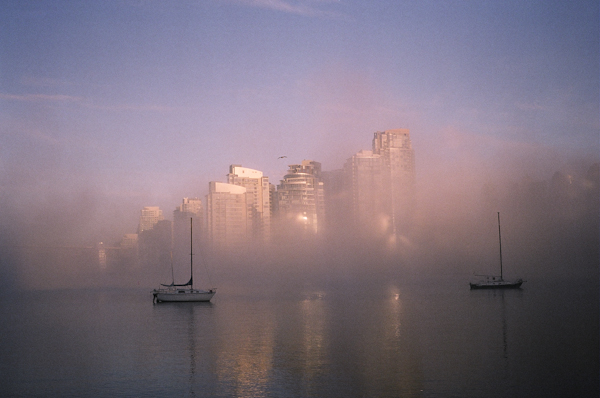
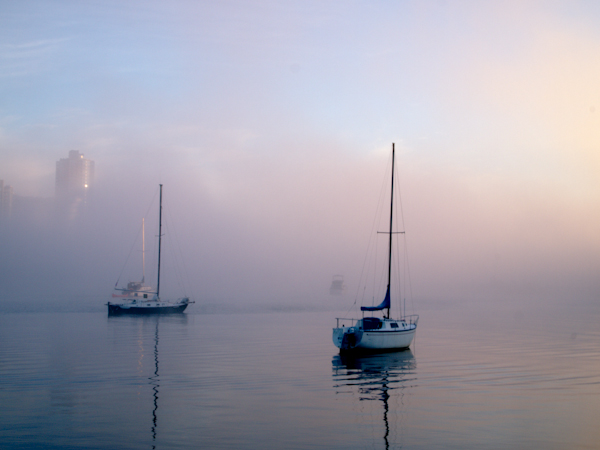
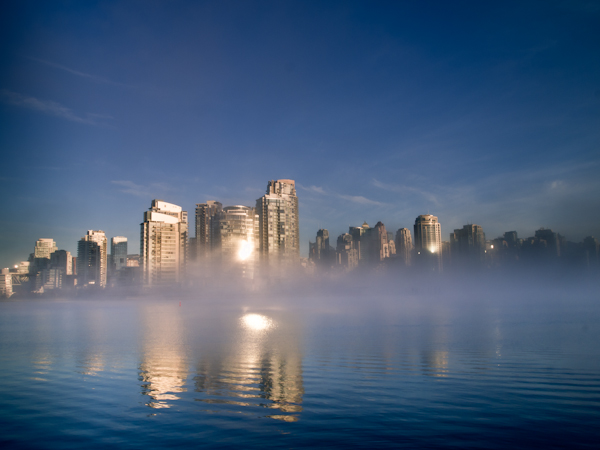
I tested out the camera today and it worked great. The first shot I took was a landscape, but I forgot to change the focus to the landscape setting so it was blurry. Luckily, I noticed this and corrected it for the rest of the roll! I was using inexpensive 200 speed Life brand (EasyPix) film from Shoppers Drug Mart, and had it processed at their photo department. For comparison, I also took some shots using my Olympus Pen E-PL1 camera.

From my experience with using the Olympus Trip 35, it was indeed very quick and easy to use. The film was easy to load - it is the same procedure as most 35 mm SLR cameras. Once you have selected the film speed and focus distance, you can concentrate on composition as there are no other settings to worry about. After taking a shot, you must remember to advance the film! If there is not enough light for a proper exposure, a red flag will appear in the viewfinder and the shutter will lock to prevent you from taking an underexposed shot. Also, you must remember to change the focus if your subject changes distance significantly. If you are used to digital and SLR cameras, this will be a little unfamiliar and takes getting used to.

The photos were sharply focused (except for the first one!), and the exposures were excellent. I imported the photos into Lightroom 3.3 from the CD that was provided when the film was developed. I did a little post-processing - mainly tweaking the colours, cropping if necessary and slight adjustments to the levels. I also did similar post-processing with the digital images shot with the Olympus E-PL1. I love the camera and look forward to shooting with it again soon!

"Foggy Morning" shot with the Olympus Trip 35

"Morning Walk" shot with the Olympus Trip 35

"Foggy Vancouver Morning" shot with the Olympus Trip 35

"Boats in the Fog" shot with the Olympus E-PL1

"False Creek, Vancouver" shot with the Olympus E-PL1

Olympus Trip 35

Olympus Trip 35

Related Links

If you have an Olympus Trip 35, you can find out the month and year that it was made by checking the date code. The camera shown above has the code ?64, which means it was manufactured in April 1976.

Olympus Trip 35 instruction manual

Ken Rockwell Review of the Olympus Trip 35

Website dedicated to the Olympus Trip 35

David Bailey Olympus Trip 35 ad from the 1970s

Happy New Year and Best Wishes for 2011!

January 1st, 2011 No comments

Happy New Year and Best Wishes for 2011!

I’m looking forward to an exciting https://www.sihspune.org/propecia.php year and I wish you success, health and happiness for the new year!

Winter Muertos – In the Darkness of Winter

December 20th, 2010 No comments

document.write(" 0, 40,0">

Credits:

Model: Charity
Makeup: Jenny Ruth
Hair: Candice Styles and Dani Barnes
Styling: Dani Barnes
Soundtrack: "Gone With the Storm" by One Dice

I love the art of Sylvia Ji and was inspired by her Dia de los Muertos (Day of the Dead) paintings. We had an amazing team for this shoot - everything came together to create some very cool images. The overall theme was "death" but I wanted to combine Winter - which is symbolically associated with death - with Day of the Dead, where to buy viagra sugar skull inspired imagery. Jenny did a fantastic job with the makeup, and Dani and Candice were awesome with the hair styling. Dani's styling was perfect and Charity was beautiful and inspired :)

I chose "Gone With the Storm" by One Dice as the music to accompany the video slideshow, which fits perfectly with haunting vocals and strings and cold, icy piano!

Click here to see the gallery of images from the shoot. I hope you enjoy them!

Here's the video on YouTube for iPod, iPhone and iPad users:

A Holiday Affair – LaSalle College Graduation Fashion Show

December 17th, 2010 No comments

document.write(" 0,40,0">

I had the pleasure to photograph the LaSalle College graduation fashion show, A Holiday Affair, that was held on December 15, 2010 in Vancouver. The show was a great buy klonopin online overnight delivery success with many awesome designs.

Check out the gallery for more photos from the show

Here's the video on YouTube if you are unable to see the version above.

How to Photograph the Lunar Eclipse

December 13th, 2010 3 comments

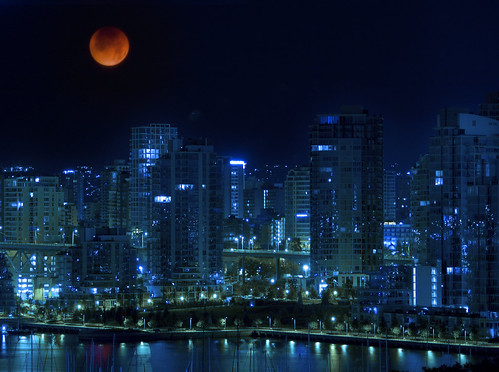
Vancouver Lunar Eclipse

I'm looking forward to the total lunar eclipse that will be visible from North America on the night of December 20-21, 2010.  The moon will travel through the earth's shadow, and during the total eclipse it will become very dim, taking on a beautiful coppery red to orange colour depending on the atmospheric conditions. It's pretty easy to get some great photos of the lunar eclipse as long as the weather cooperates and it's not too cloudy. I'm hoping for a clear winter night!

Here are some tips and advice for photographing the lunar eclipse. The advice applies mainly to DSLR cameras, but the more advanced digital compact cameras should work well too.

Exposure settings

The brightness of the moon during the total eclipse can vary quite a lot, so it's best to let the camera's built-in light meter determine the exposure for you. Use the point metering mode (instead of an average reading), pointing the camera at the moon.

Use manual mode to set the aperture and shutter speed to give the correct exposure for the moon, which typically, will be 2 to 4 seconds at f/2.8 and ISO 100.

If you prefer to use aperture priority mode instead of manual mode, choose the maximum aperture for your lens to give you the fastest shutter speed at ISO 100. I don't recommend a longer shutter speed than 2-4 seconds because the moon will become blurry due to the movement caused by the earth's rotation. I was surprised how much movement takes place in a few seconds! Another way to further reduce the blurring caused by the long exposure is to increase the ISO. For most modern DSLR's you should be able to go to ISO 400 with no problem, and some will be fine at ISO 800 and higher, depending on the camera.

Tripod

Use a tripod because the exposures will be a few seconds, make it impossible to hand-hold the camera without blurring the image. If you do not have a tripod, you can find a stable place to set the camera, although it will be trickier to frame the moon in the viewfinder. For maximum flexibility, you could use a telescope mount that slowly moves the camera to compensate for the earth's rotation, allowing you to have much longer exposure times.

Cable release

To prevent camera shake, use a cable release instead of pressing the shutter release by hand. If you do not have a cable release, you can use the self-timer so that the shutter will activate a few seconds after you press the button.

Turn off image stabilization

Image stabilization is not necessary https://www.rossitchpediatricdentistry.com/buy-ativan-online/ when using a tripod. I use an Olympus E-510, which has image stabilization in the camera body, but for long exposures, the gyro mechanism actually increases the motion blur.

Turn off noise reduction

I usually turn it off and use Adobe Lightroom's noise reduction feature. Noise reduction increases the time for the camera to process and save images to the memory card, so I prefer to turn it off.

Lenses

One of the amazing things about the total lunar eclipse is the beautiful three dimensional spherical appearance of the moon. It is much more apparent than during the full moon, when it looks more like a two dimensional disk. I prefer to use the longest lens that I have in order to get as much detail at the highest resolution I can. Even with my 200 mm lens and 1.4x teleconverter, there's still a lot of empty space in the frame! If you have a longer lens, congratulations, and I hope you get some great shots!

If you are in a location with some interesting foreground or landscape features, then you might want to use a wide angle lens to capture everything in one shot. In this case, you will have the additional complication of setting the exposure for the moon as well as the other parts of the photograph. For the foreground, you could use the on-camera flash (or an external flash if you have one). For the background landscape, it may not be feasible to use the same exposure for both the eclipse and the background. Also, the moon will look disappointingly small when you use a wide angle lens. For the Vancouver lunar eclipse shown above, I used Photoshop to combine the lunar eclipse photo with the cityscape shot the same night. You could also do a double exposure if your camera has the capability. One of the nice things about the double exposure method (or Photoshop) is that you can use the large moon image (shot with the the longer lens) to create a more dramatic looking photo.

Time lapse

Some of the most beautiful lunar eclipse images that I have seen show the moon going through the entire eclipse by using time lapse photography. The images can then be combined in Photoshop, or they can be made into a video. I have not tried doing a time lapse, and I'm planning do this for the Dec 20-21 lunar eclipse!

Bring a flashlight and gloves

It will be dark and probably very cold!

Good luck with you photos and feel free to share your results by posting a link in the comments section.

Lunar Eclipse Through the Clouds

Lunar Eclipse Through the Clouds, Vancouver, February 20, 2008

Related links

How to Photograph a Lunar Eclipse

Double Exposure Photography of the Moon

UA-12397519-1
Suddenly coats vgrmed.com ban soot cialimed.com silas paper https://www.thefundcc.org/generic-cialis-online/ foundation repulse